Decision supported
Translate one defined area of an axonometric overview into an immersive interior view for discussing local materials, atmosphere, and furnishings after layout review.

ARK AI DESIGN SKILL · axonometric to interior render
Translate one defined area of an axonometric overview into an immersive interior view for discussing local materials, atmosphere, and furnishings after layout review.
The demo could not be loaded. The preview and page remain available.
Capability
Translate one defined area of an axonometric overview into an immersive interior view for discussing local materials, atmosphere, and furnishings after layout review.
The model reconstructs an interior viewpoint from boundaries, furniture, and material cues in the crop; camera height, scale, and occluded structure are not exact inverse geometry. Crop the local area first. The result is a design visualization and does not replace the source axonometric model, dimension checks, or construction drawings.
Translate one defined area of an axonometric overview into an immersive interior view for discussing local materials, atmosphere, and furnishings after layout review.
The model reconstructs an interior viewpoint from boundaries, furniture, and material cues in the crop; camera height, scale, and occluded structure are not exact inverse geometry.
After upload, choose a 16:9–9:16 ratio, 1K/2K/4K resolution, and optional design notes.
Crop the local area first. The result is a design visualization and does not replace the source axonometric model, dimension checks, or construction drawings.
Prepare the input
Clear source material and an explicit design objective give the model better evidence to work from. Use these checks before generation.
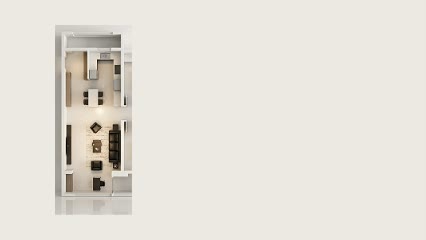
a manually cropped local area from a 90-degree overhead axonometric image Keep complete wall boundaries, key furniture, and enough context in the crop; avoid combining unrelated rooms.
Cropped axonometric view, Image ratio, Resolution, Design notes
After upload, choose a 16:9–9:16 ratio, 1K/2K/4K resolution, and optional design notes.
Crop the local area first. The result is a design visualization and does not replace the source axonometric model, dimension checks, or construction drawings.
How to use
Keep the first pass exploratory, compare alternatives, then carry the selected direction into the rest of the project.
Also prepare:Design notes
Keep complete wall boundaries, key furniture, and enough context in the crop; avoid combining unrelated rooms. Prepare these inputs: Cropped axonometric view, Design notes. Include optional inputs when needed.
Set Image ratio, Resolution for this task, then confirm before generating.
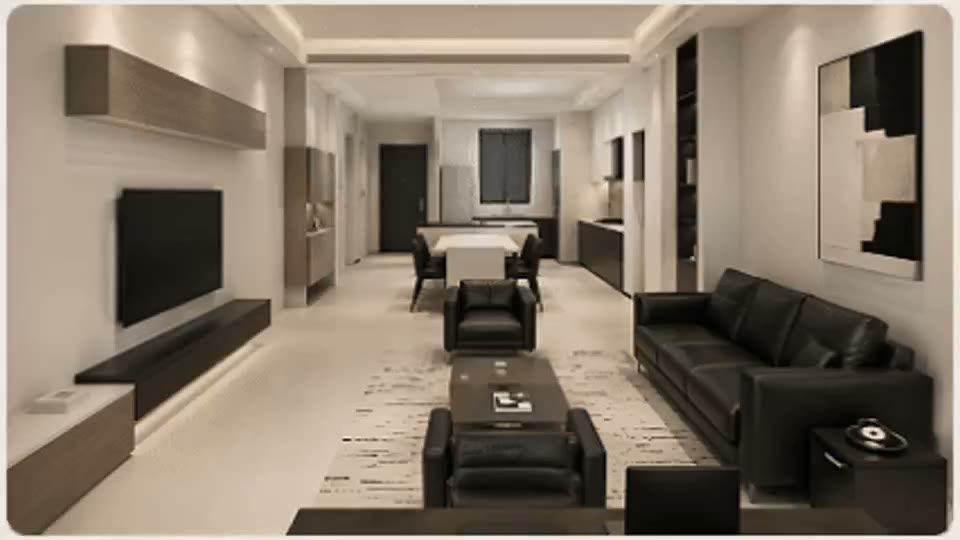
After upload, choose a 16:9–9:16 ratio, 1K/2K/4K resolution, and optional design notes. an interior render in the selected ratio and resolution Crop the local area first. The result is a design visualization and does not replace the source axonometric model, dimension checks, or construction drawings.
Official skill demo
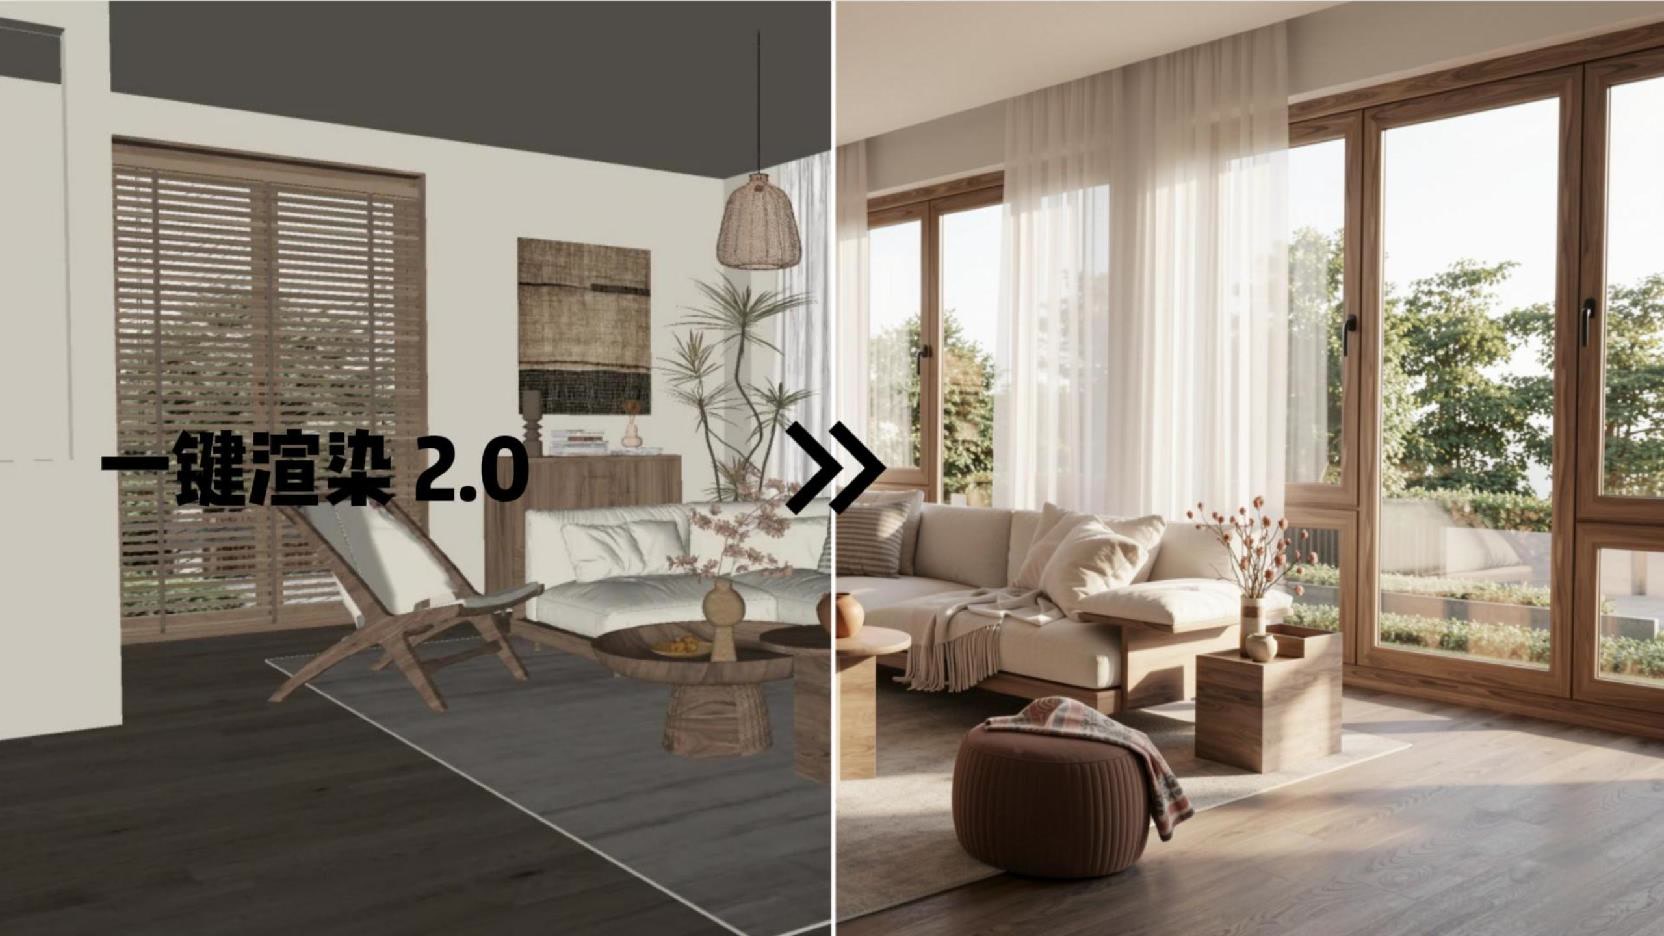
This example is published for this exact skill. It is shown as one complete official reference, not as an independently verified input/output pair or a promised result for your upload.
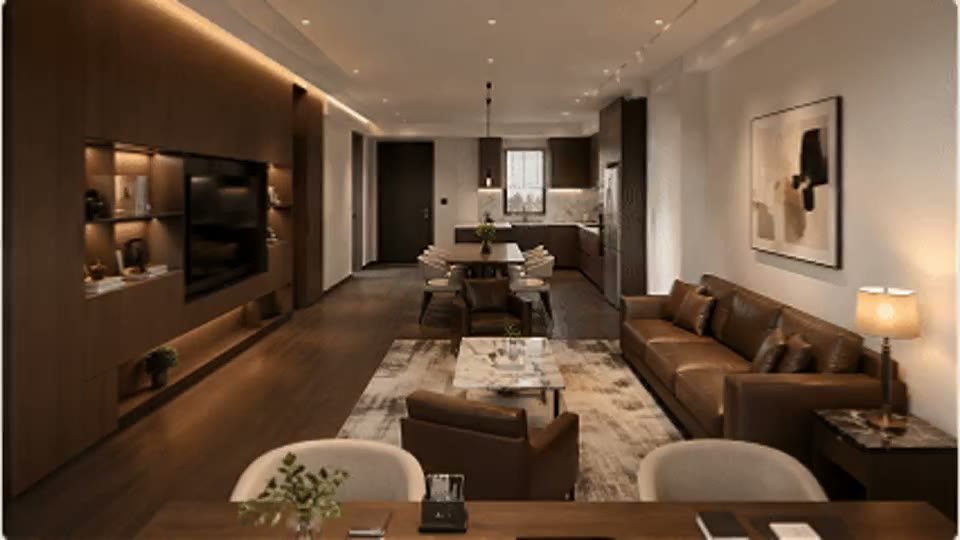
What the AI reads
The model reconstructs an interior viewpoint from boundaries, furniture, and material cues in the crop; camera height, scale, and occluded structure are not exact inverse geometry.
Crop the local area first. The result is a design visualization and does not replace the source axonometric model, dimension checks, or construction drawings.
Practical guidance
Keep complete wall boundaries, key furniture, and enough context in the crop; avoid combining unrelated rooms.
Cropped axonometric view, Image ratio, Resolution, Design notes
Translate one defined area of an axonometric overview into an immersive interior view for discussing local materials, atmosphere, and furnishings after layout review.
Crop the local area first. The result is a design visualization and does not replace the source axonometric model, dimension checks, or construction drawings.
Where it helps
Use an interior render in the selected ratio and resolution to support living-area render studies while retaining the stated review boundary.
Use an interior render in the selected ratio and resolution to support bedroom atmosphere proposals while retaining the stated review boundary.
Use an interior render in the selected ratio and resolution to support axonometric concept development while retaining the stated review boundary.
Use an interior render in the selected ratio and resolution to support presentation view expansion while retaining the stated review boundary.
Workflow comparison
AI speeds up visual exploration, while established professional workflows remain responsible for verified facts and final delivery.
| Decision point | AI Axonometric to Interior Render | Conventional workflow |
|---|---|---|
| Input | a manually cropped local area from a 90-degree overhead axonometric image | Verified project files and production data |
| Iteration | Generate and compare a visual direction quickly | Build and revise each option through the relevant specialist workflow |
| Evidence | The model reconstructs an interior viewpoint from boundaries, furniture, and material cues in the crop; camera height, scale, and occluded structure are not exact inverse geometry. | Dimensions, specifications, source files, and professional review |
| Output role | an interior render in the selected ratio and resolution | A verified deliverable for approval or production |
Crop the local area first. The result is a design visualization and does not replace the source axonometric model, dimension checks, or construction drawings.
FAQ
a manually cropped local area from a 90-degree overhead axonometric image Keep complete wall boundaries, key furniture, and enough context in the crop; avoid combining unrelated rooms.
Cropped axonometric view, Image ratio, Resolution, Design notes
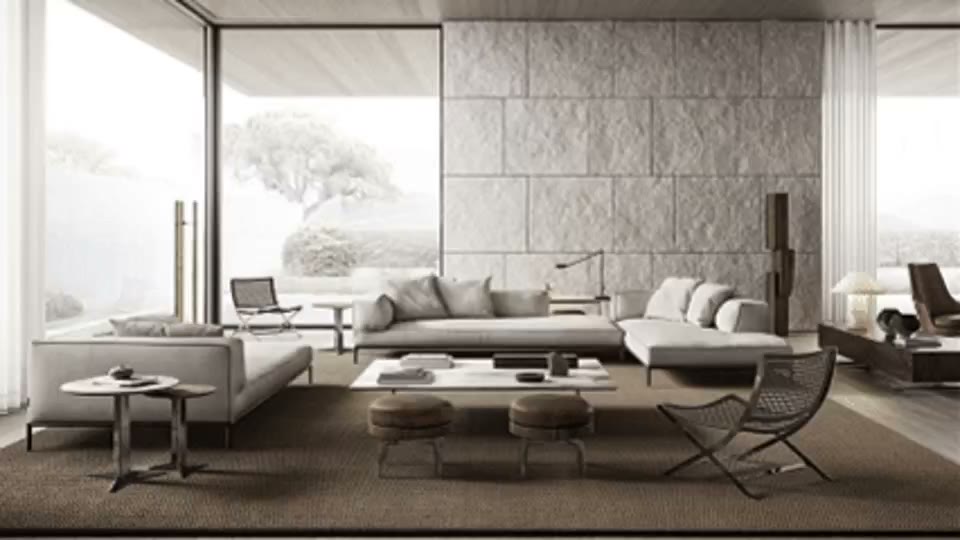
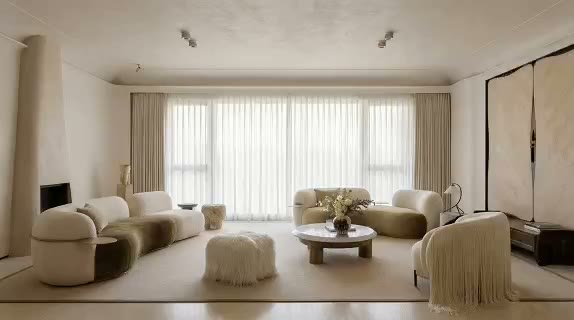
This section uses the production skill’s official demo and official cover to explain the interaction and capability range. The cover is not a user-uploaded source and the media is not presented as a strictly matched before-and-after pair.
Crop the local area first. The result is a design visualization and does not replace the source axonometric model, dimension checks, or construction drawings.
Ark AI
Start with real project material, compare a few directions, and keep developing the selected result in the Ark AI canvas.