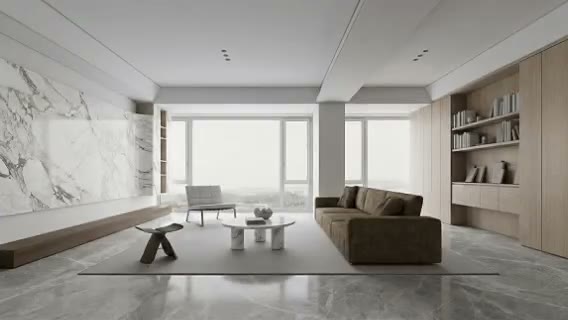
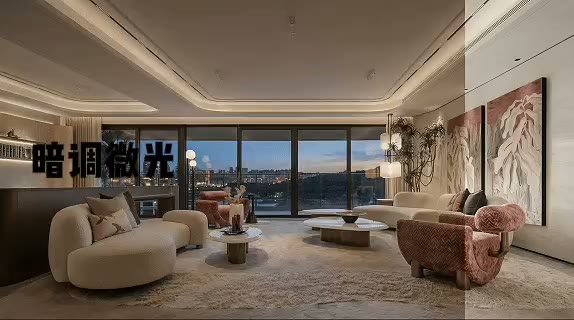
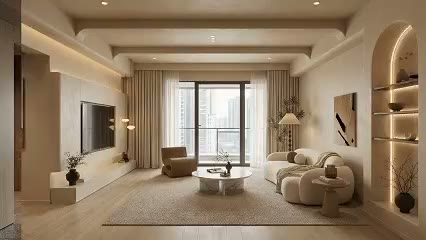
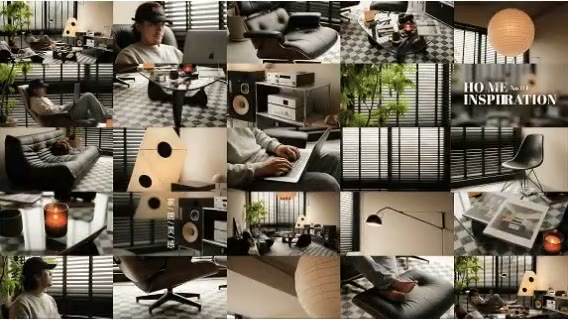
Test design language earlier
Evaluate materials, color, lighting, and furnishing before building a detailed render setup.

ARK AI DESIGN SKILL · AI white model rendering
Use a white or clay model view as the structural base, then explore materials, lighting, furniture, and styling from a design brief or reference image before committing to a full rendering setup.
The demo could not be loaded. The preview and page remain available.
Capability
AI white model rendering starts with visible spatial geometry, a camera angle, and basic massing, then introduces finish materials, lighting, furniture, soft furnishings, and atmosphere. Because a white model already describes walls, ceilings, openings, and volumes, it provides more spatial control than starting from text alone.
The workflow is useful after massing but before a team invests in detailed material setup and final rendering. It can compare several visual languages around the same viewpoint. The generated image may still redraw local edges, openings, or proportions, and it does not return editable geometry, textures, lights, or a physically controlled render scene.
Evaluate materials, color, lighting, and furnishing before building a detailed render setup.
Visible geometry and the selected camera give the exploration a stronger structural base.
Show clients alternative directions without changing the underlying presentation angle.
Develop only the material and lighting approach that has already earned stakeholder support.
Prepare the input
Clear source material and an explicit design objective give the model better evidence to work from. Use these checks before generation.
Keep important space visible and avoid severe perspective, clipping, or foreground obstruction.
Ambient occlusion and soft shadows help distinguish adjacent white surfaces.
Select a reference that represents the intended materials, color, and light for a comparable space type.
Make critical openings, stairs, ceiling forms, and built-ins visible and check them after generation.
How to use
Keep the first pass exploratory, compare alternatives, then carry the selected direction into the rest of the project.
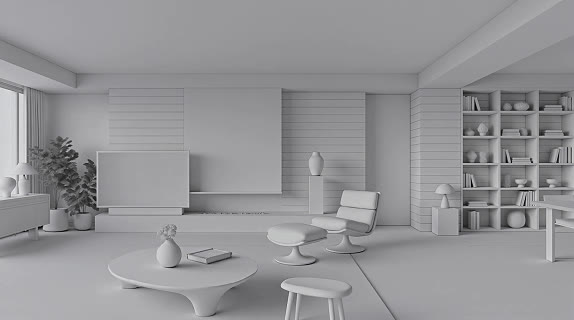
Choose a complete, well-composed screenshot with enough shading to read the geometry. Prepare these inputs: Space Scene. Include optional inputs when needed.
Set Space Type, Style Selection, Image Output Count for this task, then confirm before generating.
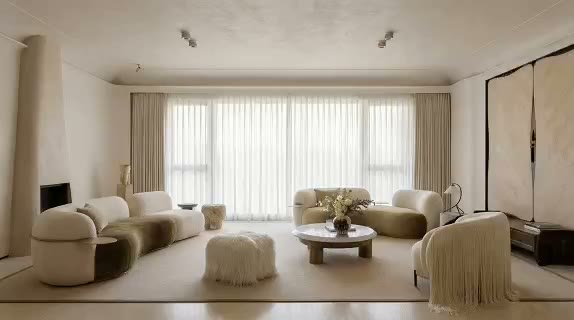
Compare material logic, light hierarchy, furniture scale, and overall narrative. Use the chosen image as a target when developing the original 3D model and final render.
Official skill demo
This example is published for this exact skill. It is shown as one complete official reference, not as an independently verified input/output pair or a promised result for your upload.
What the AI reads
The model reads contours, shading, occlusion, perspective, and the visual reference. It cannot access dimensions, layers, hidden geometry, or material parameters inside the 3D file.
Treat the output as a visual target. Projects requiring exact cameras, animation continuity, model assets, or technically controlled imagery should rebuild the chosen direction in the original 3D scene.
Practical guidance
Ambient occlusion and soft shadows are more readable than a completely overexposed white screenshot.
Use the same source view so design differences are not confused with a new composition.
A clear hierarchy prevents every surface from competing for attention.
Check doors, ceiling forms, stairs, glazing, and built-ins against the source model.
Where it helps
Test a visual direction as soon as spatial massing is established.
Compare several expressions around a consistent room and camera.
Create a credible direction under time pressure, then refine priority images.
Communicate intended material, light, furniture, and atmosphere.
Workflow comparison
AI white-model rendering prioritizes exploration speed. Conventional rendering prioritizes repeatable control of geometry, assets, parameters, and output.
| Decision point | AI White Model Rendering | Conventional workflow |
|---|---|---|
| Setup | A model screenshot and visual direction can begin | Requires organized geometry, materials, lights, and renderer |
| Exploration | Rapidly compares several visual languages | Each direction needs deliberate scene setup |
| Geometry control | Visible forms guide the image but may change | The original model controls every visible element |
| Editability | Returns a flat image for further image work | Scene parameters and assets remain editable |
Use AI to identify the strongest visual language, then reconstruct that language in the original scene for a controlled and reusable final deliverable.
FAQ
Yes. Hide axes, selections, and guides; retain useful shadows or ambient occlusion; and use a presentation-ready camera.
No guarantee. Major forms often remain recognizable, but openings, profiles, furniture, and local proportions can drift.
Yes. A single reference with comparable room type and clear material, color, and lighting cues works best.
The output is an image, not editable geometry, UVs, materials, or lighting. Rebuild the selected direction in the source model.
Ark AI
Start with real project material, compare a few directions, and keep developing the selected result in the Ark AI canvas.