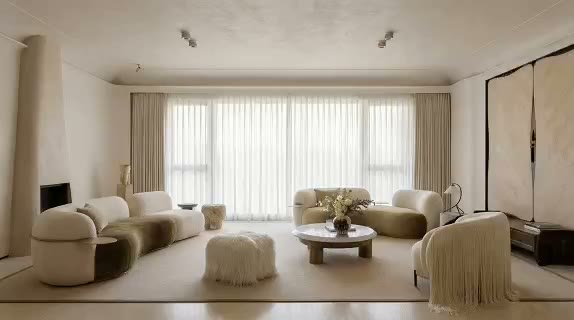
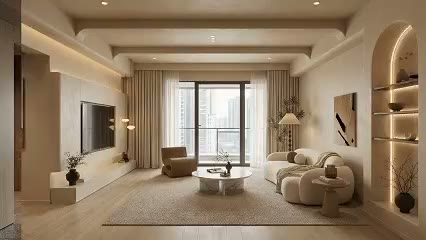
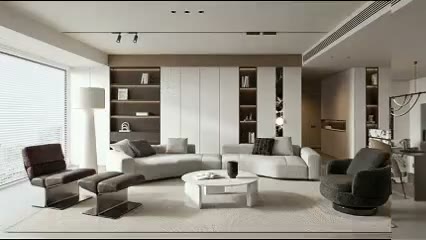
Coordinate several surfaces at once
Evaluate walls, floor, joinery, and furniture as one material composition instead of isolated swaps.

ARK AI DESIGN SKILL · AI multi-material replacement
Mark walls, floors, cabinetry, furniture, or product parts and assign a material direction to each area. Compare how timber, stone, metal, paint, and textiles work together before committing to detailed rendering or samples.
The demo could not be loaded. The preview and page remain available.
Capability
AI multi-material replacement reconstructs several selected surfaces while retaining the main subject, viewpoint, and lighting context of an existing image. A team can compare timber, stone, metal, paint, fabric, and other finishes across walls, floors, cabinetry, or product components without rebuilding a complete rendering for every combination.
Numbered or painted masks tell the model which surface owns each instruction, while text or references describe the desired appearance. The result is valuable for visual selection, client communication, and content variations. It does not automatically include product codes, installation details, repeat dimensions, performance data, quantities, or supply information.
Evaluate walls, floor, joinery, and furniture as one material composition instead of isolated swaps.
Review warmth, value, grain density, gloss, and reflection across the whole scene.
Show a client how several sample directions might interact inside a familiar room.
Explore finish combinations for furniture, materials, and channel-specific visual content.
Prepare the input
Clear source material and an explicit design objective give the model better evidence to work from. Use these checks before generation.
Strong edges, visible target surfaces, and stable light help the original scene remain coherent.
Keep masks inside real boundaries and separate adjacent objects with different material instructions.
Include color, grain scale, direction, gloss, and material family rather than only a broad material name.
Store brand, code, dimensions, and technical documents for later procurement and validation.
How to use
Keep the first pass exploratory, compare alternatives, then carry the selected direction into the rest of the project.
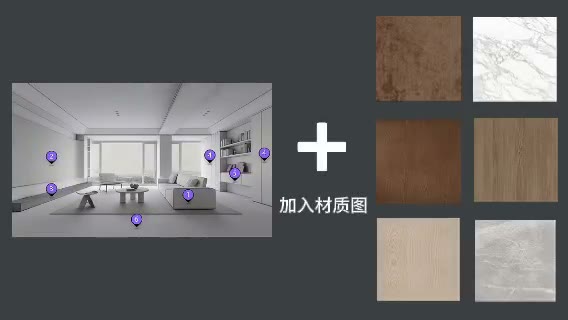
Use a clear view where each target surface is visible and not heavily obstructed. Prepare these inputs: Upload space image, Material image. Include optional inputs when needed. Assign separate regions to walls, floor, cabinetry, upholstery, or product components.
Review the inputs for clarity, completeness, and consistent references. This skill has no additional visible settings; generate after confirming the inputs.
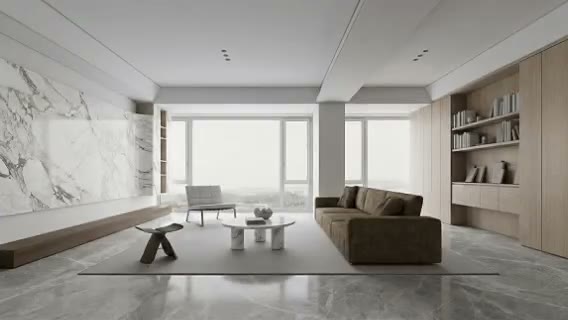
Generate from the numbered regions and material images, then compare the surfaces and overall composition. Refine the strongest result, then confirm color, texture, and performance against real products.
Official skill demo
This example is published for this exact skill. It is shown as one complete official reference, not as an independently verified input/output pair or a promised result for your upload.
What the AI reads
The model combines the marked regions with object edges, perspective, light, and material instructions. Precise masks provide the strongest signal for where a texture should belong.
Use visual replacement to shortlist directions. Procurement requires physical samples, technical data, realistic lighting checks, quantities, and construction coordination.
Practical guidance
Take special care around skirting, cabinet joints, glazing, perforations, and upholstered seams.
Horizontal timber, vein direction, plank layout, or stone scale materially affect the result.
Lock a primary material first, then compare supporting finishes around it.
A screen image cannot represent site daylight, display calibration, or batch variation.
Where it helps
Compare coordinated walls, floors, joinery, and upholstery.
Place shortlisted samples into a project image for client discussion.
Present one product in multiple timber, fabric, metal, or color combinations.
Create finish-led variants for regions, seasons, or target audiences.
Workflow comparison
AI is efficient for screening a large combination space. Conventional rendering and physical sampling provide exact product, geometry, and installation control.
| Decision point | AI Multi-Material Replacement | Conventional workflow |
|---|---|---|
| Change scope | Handles several marked regions in one generation | Adjusts model materials and texture parameters individually |
| Option exploration | Rapidly compares many color and material directions | Precisely executes a smaller set of confirmed finishes |
| Product accuracy | Represents material character and visual intent | Can use measured texture maps and exact specifications |
| Delivery confidence | Requires samples and technical validation | Connects to layout, details, schedules, and construction |
Shortlist with AI, then validate with real finishes, controlled rendering, and samples. That separation protects both creative speed and delivery confidence.
FAQ
Several key regions can work well, but many tiny masks increase edge errors. Start with the surfaces that drive the overall composition.
A sample image can guide appearance, but code, batch color, repeat, scale, and physical properties are not guaranteed.
The mask may cross an edge, the source resolution may be low, or adjacent surfaces may be visually similar. Refine the region boundary.
No. Orders must use verified product codes, samples, dimensions, quantities, and technical requirements.
Ark AI
Start with real project material, compare a few directions, and keep developing the selected result in the Ark AI canvas.