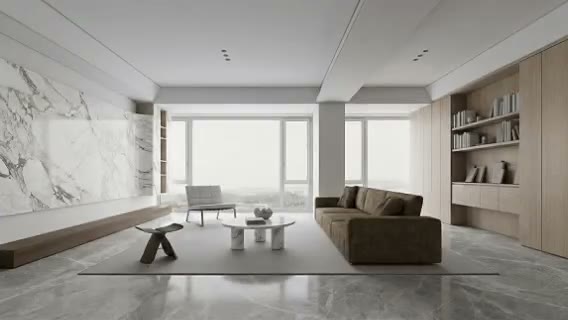
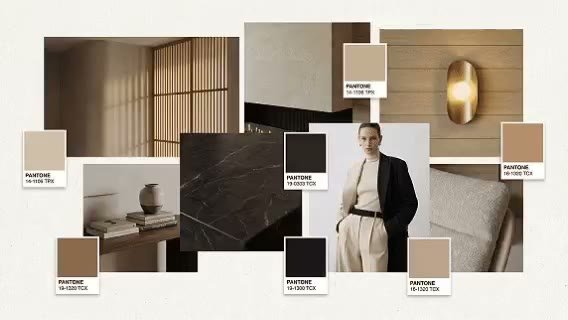
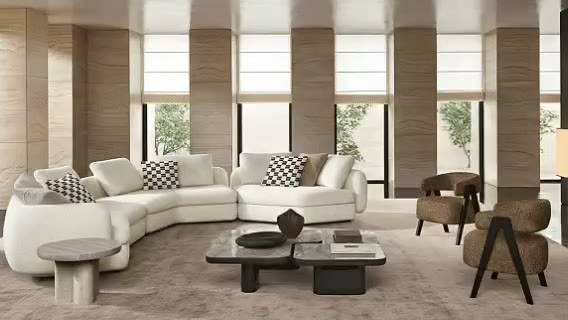
Separate finish layers
Organize floors, walls, cabinetry, furniture, and textiles into readable groups.

ARK AI DESIGN SKILL · AI material analysis
Identify the visible finish palette, furniture surfaces, and textile colors in a complete room, then organize them for research, presentations, and selection discussions.
The demo could not be loaded. The preview and page remain available.
Capability
Identify the visible finish palette, furniture surfaces, and textile colors in a complete room, then organize them for research, presentations, and selection discussions.
The AI reads texture, reflectivity, color, scale, and object position, but it cannot verify hidden substrates, exact product codes, or physical performance. Use the output for visual research and communication. Confirm product names, fire ratings, environmental data, and installation methods with samples and technical documents.
Organize floors, walls, cabinetry, furniture, and textiles into readable groups.
Turn scattered observations into a clear material story for clients and teams.
Understand how color, texture, and sheen work together in the space.
Carry the analysis into replacement and color tools for comparison.
Prepare the input
Clear source material and an explicit design objective give the model better evidence to work from. Use these checks before generation.
Start with a clear interior image with visible finishes and furnishings. Use a clear source that keeps the subject and the evidence needed for this task visible.
The production skill provides Upload Space Image, Image Ratio.
The production skill generates from the visible source material and the selected controls.
Use the output for visual research and communication. Confirm product names, fire ratings, environmental data, and installation methods with samples and technical documents.
How to use
Keep the first pass exploratory, compare alternatives, then carry the selected direction into the rest of the project.
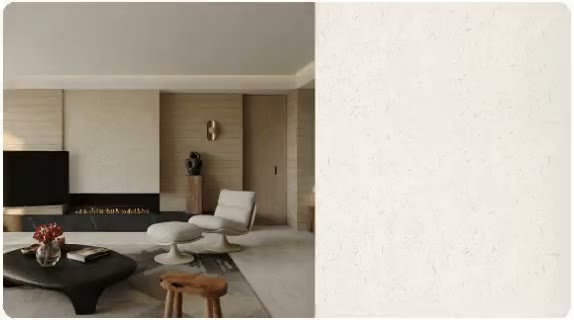
Use a clear source that keeps the subject and the evidence needed for this task visible. Prepare these inputs: Upload Space Image. Include optional inputs when needed.
Set Image Ratio for this task, then confirm before generating.
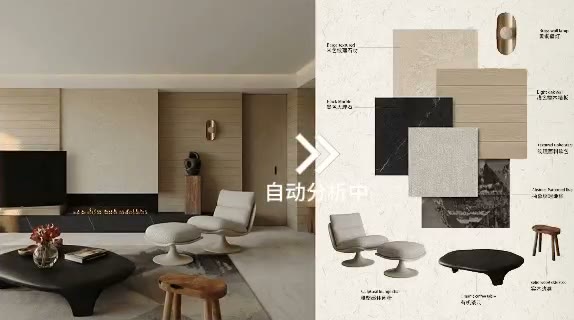
The production skill generates from the visible source material and the selected controls. Check the result against the source material. Use the output for visual research and communication. Confirm product names, fire ratings, environmental data, and installation methods with samples and technical documents.
Official skill demo
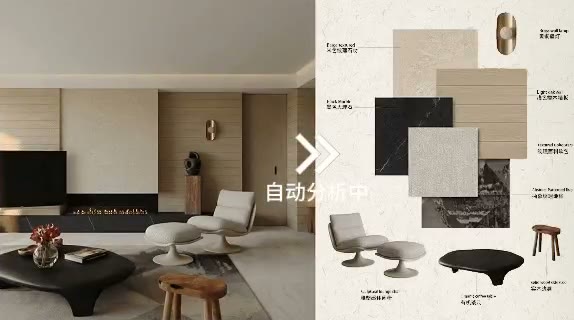
This example is published for this exact skill. It is shown as one complete official reference, not as an independently verified input/output pair or a promised result for your upload.
What the AI reads
The AI reads texture, reflectivity, color, scale, and object position, but it cannot verify hidden substrates, exact product codes, or physical performance.
Use the output for visual research and communication. Confirm product names, fire ratings, environmental data, and installation methods with samples and technical documents.
Practical guidance
Use a clear source that keeps the subject and the evidence needed for this task visible.
This skill provides Upload Space Image, Image Ratio; select only the settings needed for the current decision.
The AI reads texture, reflectivity, color, scale, and object position, but it cannot verify hidden substrates, exact product codes, or physical performance.
Use the output for visual research and communication. Confirm product names, fire ratings, environmental data, and installation methods with samples and technical documents.
Where it helps
Use an organized material analysis board to compare directions and align stakeholders during competitor-space research.
Use an organized material analysis board to compare directions and align stakeholders during material presentation boards.
Use an organized material analysis board to compare directions and align stakeholders during styling analysis.
Use an organized material analysis board to compare directions and align stakeholders during finish-direction reviews.
Workflow comparison
AI accelerates early exploration and comparison; established professional workflows protect accuracy, feasibility, and formal delivery.
| Decision point | AI Interior Material Analysis | Conventional workflow |
|---|---|---|
| Starting point | Begin with a clear interior image with visible finishes and furnishings | Begin with structured requirements and production-ready data |
| Iteration | Compare several visual directions quickly | Revise and reproduce each option manually |
| Best use | Direction, atmosphere, composition, and early communication | Dimensions, specifications, feasibility, and formal approval |
| Output role | A proposal for selection and discussion | Verified data for production, construction, or publication |
Use AI to narrow the direction for an organized material analysis board, then verify the selected option through the appropriate professional workflow.
FAQ
Start with a clear interior image with visible finishes and furnishings. Use a clear source that keeps the subject and the evidence needed for this task visible.
The production skill provides Upload Space Image, Image Ratio.
The production skill generates from the visible source material and the selected controls. The AI reads texture, reflectivity, color, scale, and object position, but it cannot verify hidden substrates, exact product codes, or physical performance.
Use it for exploration and communication, then follow this boundary: Use the output for visual research and communication. Confirm product names, fire ratings, environmental data, and installation methods with samples and technical documents.
Ark AI
Start with real project material, compare a few directions, and keep developing the selected result in the Ark AI canvas.